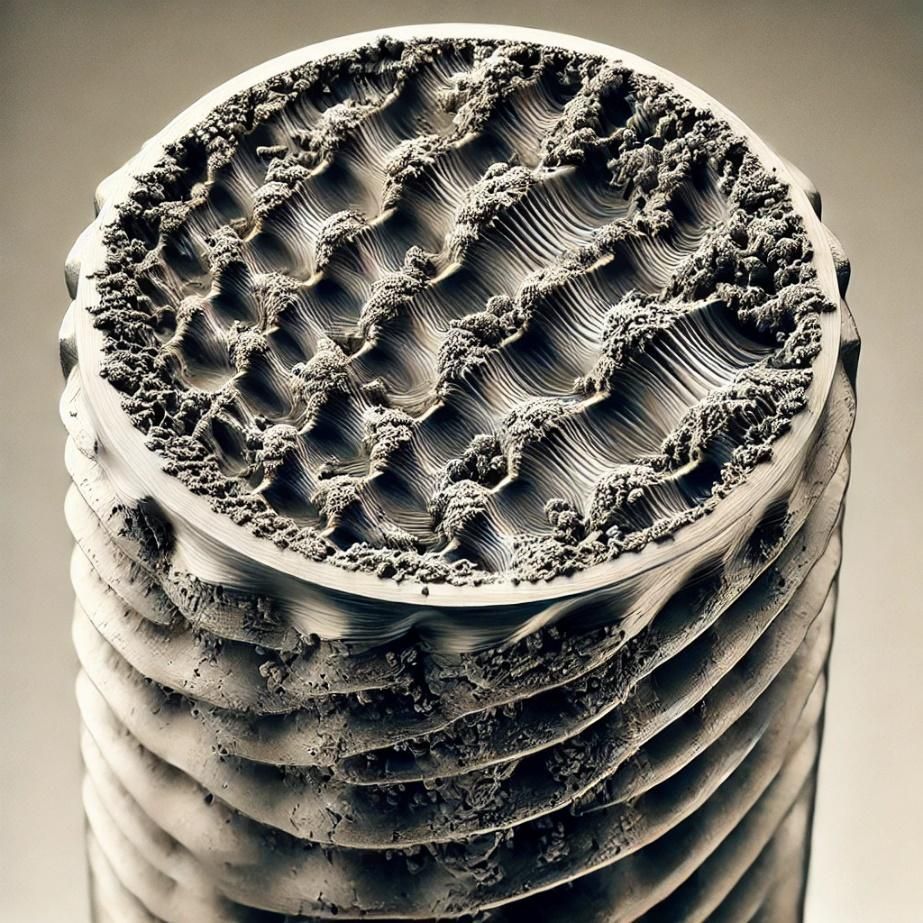
THE CRITERIA FOR USING SCREWS
The ISO (International Organization for Standardization) metric system for screws is an international standard that defines the dimensions, tolerances, and mechanical properties of screws. This system is widely used in the mechanical and engineering industry to ensure the interchangeability and consistency of threaded components. ISO metric screws are identified by a combination of letters and numbers that describe the nominal thread diameter, pitch, and other important characteristics.
Classification of ISO Metric Screws
ISO metric screws are classified primarily based on the nominal thread diameter and pitch. The nominal diameter is the external dimension of the screw, while the pitch is the distance between two consecutive threads.
Table 1: Classification of ISO Metric Screws
| NOMINAL DIAMETER (MM) | STANDARD PITCH (MM) | FINE PITCH (MM) |
|---|---|---|
| M1 | 0.25 | - |
| M2 | 0.4 | 0.25 |
| M3 | 0.5 | 0.35 |
| M4 | 0.7 | 0.5 |
| M5 | 0.8 | 0.5 |
| M6 | 1.0 | 0.75 |
| M8 | 1.25 | 1.0 |
| M10 | 1.5 | 1.25 |
| M12 | 1.75 | 1.5 |
| M16 | 2.0 | 1.5 |
Materials and Surface Treatments
ISO metric screws can be manufactured from various materials, including steel, stainless steel, brass, and plastic. The choice of material depends on the specific application, considering factors such as corrosion resistance, mechanical strength, and cost.
Table 2: Common Materials for ISO Metric Screws
| MATERIAL | MAIN PROPERTIES | TYPICAL APPLICATIONS |
|---|---|---|
| Steel | High mechanical strength, economical | Metal structures, machinery |
| Stainless Steel | Corrosion resistance, aesthetics | Corrosive environments, food applications |
| Brass | Good corrosion resistance, electrical conductivity | Electrical components, decorations |
| Plastic | Lightweight, corrosion resistance | Lightweight applications, non-structural components |
Surface treatments, such as galvanizing, phosphating, and nickel plating, can further improve the properties of screws, offering greater corrosion resistance and improved aesthetics.
Tolerances and Precision
Tolerances are a crucial aspect of the ISO metric system, as they ensure the interchangeability of screws and compatibility with associated components. Tolerances are defined based on the tolerance class, which indicates the degree of precision required for a given application.
Table 3: Tolerance Classes for ISO Metric Screws
| TOLERANCE CLASS | DESCRIPTION | TYPICAL APPLICATIONS |
|---|---|---|
| 6g | Standard tolerance for external threads | General applications |
| 4h | Fine tolerance for external threads | Precision applications |
| 6H | Standard tolerance for internal threads | General applications |
| 4H | Fine tolerance for internal threads | Precision applications |
Design Considerations
When designing components that use ISO metric screws, it is essential to consider the following aspects:
- Working Load: The choice of screw must take into account the static and dynamic load that the threaded joint will have to withstand.
- Operating Environment: The environment in which the screw will be used (e.g., corrosive, high temperature) influences the choice of material and surface treatment.
- Compatibility: Screws must be compatible with existing components in terms of dimensions, threading, and tolerance class.


